Rock & Grow: Adding Local Rocks & Soil To Your Garden
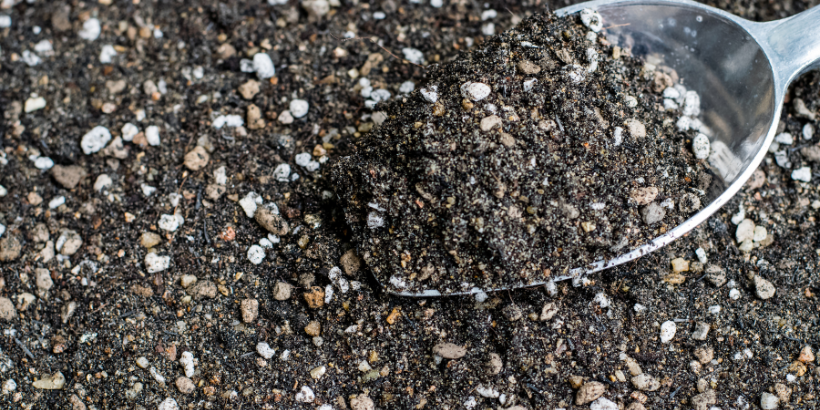
Looking for ways to naturally enrich your garden? The answer is all around you….literally. Add local rocks & soil to your garden to improve soil health and see your crops flourishing in no time.
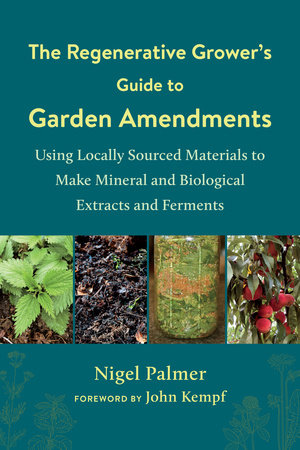
The following is an excerpt from The Regenerative Grower’s Guide to Garden Amendments by Nigel Palmer. It has been adapted for the web.
Using Local Rocks & Soil In Your Garden
Minerals abound in rocks and soils all around.
Calcium and magnesium can be found at a lime quarry, silicon and maybe manganese from a basalt quarry, paramagnetic materials from basalt or granite quarries, calcium and sulfur from gypsum, boron from borax, and silicon from diatomaceous earth.
Other sources of local minerals are the silts that build up on riverbanks after spring flooding and the muck around swamps and bogs.
Local Rocks & Soil: Rock Dusts
Some types of rock formations, such as basalts, contain trace minerals, and rock dusts can be used for long-term mineralization of soil. Basalt and granite quarried rock dusts may also have paramagnetic properties.
Paramagnetic properties of soil are becoming more widely recognized as an important characteristic, in part because microorganism health and the flow of energy between plant and soil are affected by the magnetic susceptibility of the soil.
Identifying Rock Formations
Consult a local geological survey map to identify rock formations in the local area. These are the geological survey maps that identify the minerals below the ground surface, not the ones used by hikers that show elevation, rivers, and roads.
These maps will identify the rock formation types in the area. Comparing this information with the analysis results from a soil test will identify whether the rocks in the area have minerals needed for the garden.
Finding Rock Quarries
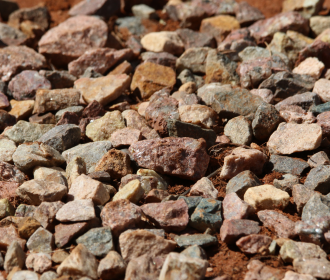
The very fine dust that accumulates as a result of crushing rocks is a quarry waste product.
Quarries must dispose of the dust on an ongoing basis, and it is often available free for the taking.
Quarries frequently conduct analysis of the rocks crushed in order to advertise the mineral composition of their product. This information is usually provided upon request.
If analysis is not available, conduct an analysis of available materials before applying them to your soil or using them in a recipe.
It’s important to determine that a particular rock dust contains appropriate minerals for your soil and plants before application.
Mineral Composition
Another source of soil mineral composition information is the Element Concentrations in Soils and Other Surficial Materials of the Conterminous United States. This reference can be used to identify the general soil mineral distributions of many minerals anywhere in the United States.
The maps provide information about the mineral content of the soil at a state level.
For more detailed local information about the soil mineral composition in the backyard, seek out bedrock geological survey maps for your vicinity available from the United States Geological Survey (USGS).
These sources can be used to evaluate general local rock formations and the minerals that may be common in the soil.
Using this information in conjunction with the location of local quarries will help identify what mineral types are available in your area and a general understanding of mineral composition of soils in that area.
Visiting A Quarry
Visiting a quarry and asking about the mineral composition of the rocks mined and the availability of the dusts is interesting and informative. Once mineral composition is understood, comparison with a soil test allows informed decisions about need and application.
It takes time for rock dust particles to become assimilated into the soil, because they must be digested by the soil biology in order to enter into the soil solution. Rock dusts can also be applied to compost piles or to a pile of IMO #3 when making IMO #4 to facilitate their digestion.
When to Apply Rock Dusts
Apply rock dusts to the soil in late fall through early spring in multiple small applications. Sprinkle rock dusts over growing areas before and/or after applying mulch.
Applying a biological amendment, an organic carbon source, and rock dusts all at one time is an excellent strategy because it provides biology and food and housing for that biology, which in turn will enhance digestion of the rock dust and its assimilation into the soil solution.
Local Rocks & Soil: Silts and Clays
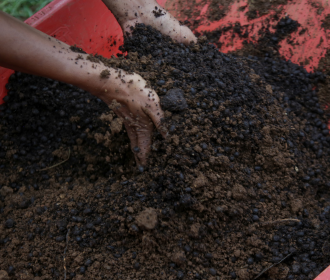
Be mindful of who owns these places and any laws prohibiting removal. Extracting small amounts makes this practice sustainable.
Analyzing Silts and Clays
Conducting an analysis of this material provides an understanding of what minerals are present, and assures that unwanted elements such as heavy metals are not.
It is easy to add silt or clay to a garden area, but difficult to remove it!
It’s a good idea to collect samples of silt or clay and send them to a lab for analysis.
Test results provide a basis for making informed decisions about whether to apply the material and how much.
Long-Term Mineralization
Silts and clays are used for long-term mineralization and for building a soil’s cation exchange capacity. Apply to the soil in late fall through early spring, or apply the material to a compost pile.
Try adding small quantities of a mineral-rich silt or clay to planting holes, or spread it when applying mulch. As explained above for rock dusts, it’s a good practice to use biological amendments in conjunction with silts and clays.
Recommended Reads
Recent Articles
Storing seeds is the key to having a successful growing season. Follow these tips for keeping seeds organized so you’re ready to plant as soon as the time is right!
Read MoreThese hardy little berries are great to grow if you live in a colder climate. A versatile evergreen ground cover that bring both ornamental beauty and productive harvests to acidic-soil gardens.
Read MoreReady to start your silvopasture journey? First things first: which animals are right for YOUR land?
Read MoreGet ready to snuggle up with the softest wool in town! When it comes to rabbits, the Angora is the most commonly used breed for wool. It is exceptionally fine and renowned for its softness, warmth, and fluffiness!
Read MoreExtend Your Growing Season with a Cold Frame! Plant earlier in spring AND grow later into fall. Build your own cold frame and enjoy a longer harvest season! Ready to grow more, longer?
Read More

