How to Create a Nitrogen-Rich, Compost-Fed Soil Bed on Your Patio
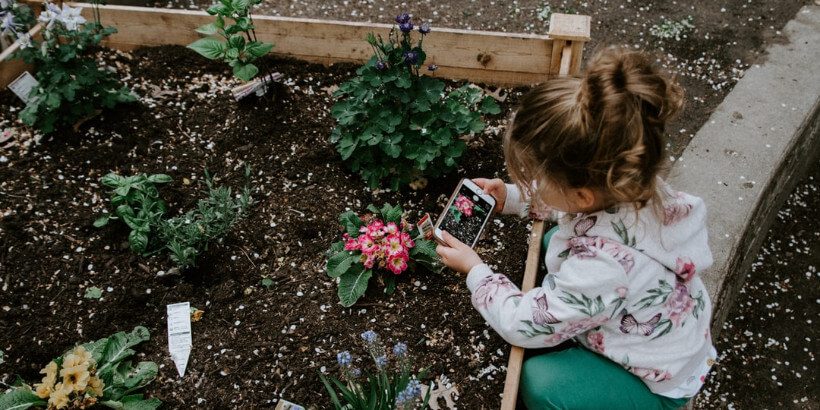
If you have an unused stretch of patio, why not make it into a garden? Turning a concrete slab into a verdant garden isn’t as impossible as it sounds, all it takes is time, a compost-fed soil bed, and some good old-fashioned elbow grease.
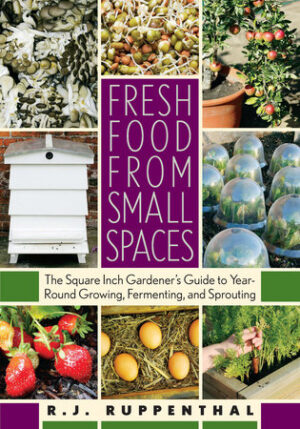
The following is an excerpt from Fresh Food from Small Spaces: The Square-Inch Gardener’s Guide to Year-Round Growing, Fermenting, and Sprouting by R. J. Ruppenthal. It has been adapted for the web.
We have a patio area covered with textured concrete. Part of it has a shady section away from the house, which mostly gets reflected light off a stucco wall. The light is enough to grow leafy greens and root vegetables in the containers I have placed there. I also have used it as a home for my compost tumbler, which is braced above the ground with a steel frame and spins on a horizontal axle. Because of the shade and location, no one else in the family seemed too interested in using that space, so I did not get any objections about the compost tumbler. Until recently, I had not thought of using this space for anything else.
Some time ago, I became interested in sheet mulching, which I started to practice in the small strip of ground soil we have access to on the other side of our home. This is the sunny side, where we have a couple of raised-bed planters along a sidewalk, each of which is open to the ground below. To improve the soil in these planters, which was heavy clay under about three inches of good topsoil, I dug down and removed about 12 inches of clay, replacing it with progressive layers of compost “browns” and “greens.” As the pile decomposed and the level dropped, I covered it with a few more layers and then with the original topsoil. Worms came up to eat the decomposing matter, loosening the clay beneath and enriching the soil. In a few months, with the heat of the sun, I ended up with some of the richest gardening soil I could imagine.
Then recently, I was thumbing through a fun little book called Composting: An Easy Household Guide by Nicky Scott. I noticed the words, “Composting . . . will work on concrete, provided there is good drainage.” I read on and he elaborated, “Worms will find their way across tarmac and concrete to colonize your heap.” He suggested using a good bedding material like moist cardboard, which worms like. I was intrigued, but I still couldn’t afford to start a stinky compost pile on my patio. But, later that evening, suddenly everything clicked in my brain: I could build a sheet-mulched growing bed in that half-shady corner of my patio; no one would even know it was full of compost, and I would be able to grow all the greens I wanted over there once it was finished.
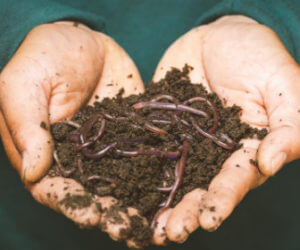
The next morning, which happened to be a Saturday, I made my excuses to the family for an hour or two, and dashed outside. I moved my compost tumbler a few feet, clearing some space, and covered the patio drain with a few handfuls of stones so that it would not get plugged up with dirt. I rummaged through the recycling bin, finding two flattened cardboard boxes and some newspaper. Then I realized that I should really start with some worms, since this would speed up the process greatly. A few days before, I had been planting a plum tree in a nearby yard and had carted over a little extra topsoil that came with a little grass and worms. So I started by covering my concrete patio floor with some of this real dirt, including the worms and grass. This I covered with the cardboard and paper. On top of the cardboard, I added a layer of alfalfa hay that I had been using as a high-protein mulch. (Alfalfa hay is a “green” because it has lots of nitrogen.) I covered this with some more “browns”: newspaper, ripped-up brown paper shopping bags, and a few leaves I had taken from the main sidewalk. I wetted down the whole pile so it wouldn’t fall over. Food scraps went on top, including some apple cores, banana skins, potato and kiwi peelings, broccoli trimmings, old bread, used coffee grounds, and a sprinkling of cornmeal. Before anyone could see this part, I covered it with a thick layer of peat that I had purchased. (One could also use free “brown” sources like hay, cardboard, or leaves on top, but I had not collected enough at this point.) I then threw some potting soil on top and piled it around the sides for appearances. And I wet this down once as well. The pile was about 12 inches high, as high as I could manage without it falling over, and it looked for all the world like a big bed of potting soil.
Now, a couple of months later, my sheet-mulch/compost pile still looks like a bed of soil and is decomposing quickly, yet thanks to the “brown” layer of peat and soil on top, there are no odors and I have not seen any pests. (Coffee grounds also help to deodorize things.) I have continued adding layers: some ripped-up newspaper, food scraps, and another layer of potting soil. I cannot yet report on the results because the pile is still decomposing, but I will say this: I cheated and plunged a shovel into the new bed to see how the soil looked. The layers were decomposing very quickly and I could see earthworms everywhere, far more than I had introduced at the beginning. This soil is going to be way better than any potting soil. If I wanted to, I could probably plant into it right now, but I will wait a little longer to do so. My reason for waiting is that the height keeps dropping with decomposition; I will need to keep adding layers and building it up a little higher. What begins as 12 inches decomposes to much less than that, and to make a bed of soil that is deep enough for planting, I will need to add to the pile a few more times. Then I may decide to frame it with a few cinderblocks or pieces of wood, just so that I can build it higher without it spilling over. The soil then will be deep enough for me to grow some good veggies over there: Even squash or potatoes may have just enough light!
A patio-based sheet-mulch bed is a radical step; it is not as tidy as a container, and building it does take some work. But you can build one completely with waste materials and keep it reasonably tidy looking as well. When the reward is a lifetime of good soil for healthy planting, I consider the time and trouble of building this bed to be a very worthwhile investment. Because of the important role that earthworms and soil microbes play, this process would be more difficult to re-create inside a container. Nevertheless, this bed is just one of my growing areas; as a city dweller with limited space, I will continue to use containers to grow many of my staple vegetables. Making compost or worm castings elsewhere and then mixing these into container soil will produce excellent results as well.
Recommended Reads
Food for Your Garden: Starting a Traditional Compost Pile in Your Yard
Recent Articles
No heated greenhouse? No problem! Discover the secrets to thriving winter gardening without breaking the bank.
Read MoreWintergreen is the stunning evergreen groundcover that’s a game-changer for your garden! It’s cherished for its aromatic leaves, vibrant fall color & bright berries.
Read MoreYear-round growth without the hefty price tag of a greenhouse? Low tunnels are the cost-effective and flexible solution you’ve been looking for. Grow year-round with low tunnels!
Read MoreGrow winter carrots for a sweeter & more flavorful harvest! Ditch the bland, store-bought carrots this winter! Grow your own winter carrots for a sweeter and more flavorful twist 🥕🥕
Read More

